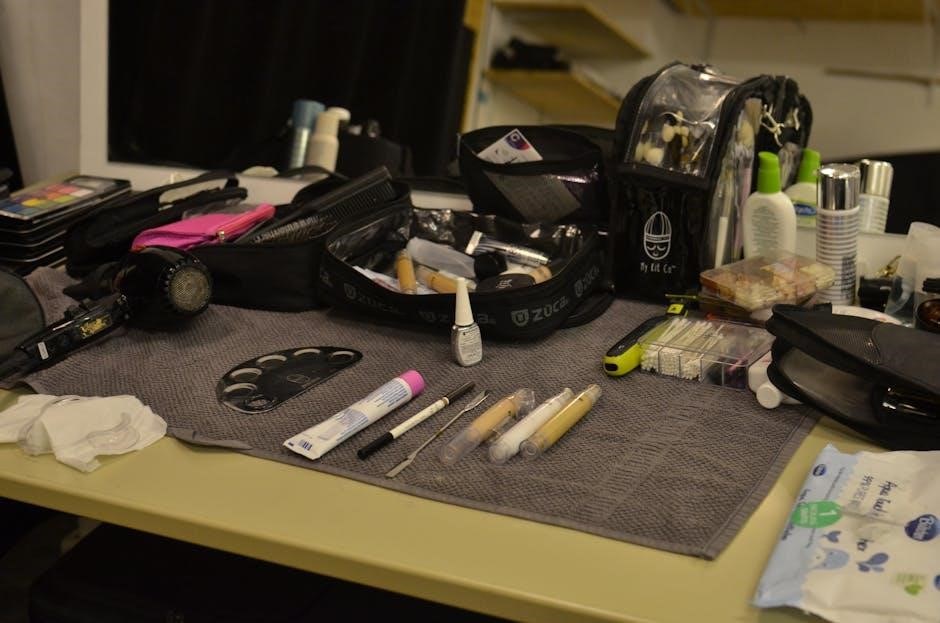
The Kiss Acrylic Nail Kit is a popular choice for at-home nail enhancements, offering everything needed for salon-quality results. Designed for convenience, it includes comprehensive instructions, making it easy for beginners to achieve professional finishes. Perfect for those who want to save time and money while maintaining stunning nails, this kit is a must-try for DIY nail enthusiasts. With its user-friendly design and step-by-step guide, it ensures a flawless application every time, helping you achieve beautiful, long-lasting acrylic nails from the comfort of your home.
Overview of the Kit and Its Benefits
The Kiss Acrylic Nail Kit is a comprehensive at-home nail system designed to help users achieve salon-quality acrylic nails effortlessly. The kit typically includes everything needed for application, such as acrylic powder, liquid monomer, nail tips, glue, a brush, and a file. One of its standout benefits is its beginner-friendly design, making it accessible even to those new to acrylic nails. The kit also offers long-lasting results, with proper application ensuring durability. Additionally, it allows for customization, enabling users to shape, file, and paint their nails to suit their personal style. The kit’s portability and affordability make it a great alternative to expensive salon visits, providing a cost-effective way to maintain beautiful nails at home. Its ease of use and professional-grade results have made it a favorite among DIY nail enthusiasts.
Why Choose the Kiss Acrylic Nail Kit for At-Home Use
The Kiss Acrylic Nail Kit is an excellent choice for at-home use due to its ease of application and professional-grade results. It is specifically designed for beginners, making it a great option for those new to acrylic nails. The kit comes with everything needed for a complete application, including instructions, ensuring a seamless process. Its cost-effectiveness and convenience allow users to achieve salon-quality nails without the expense of a professional service. Additionally, the kit offers durability and long-lasting results when applied correctly. The comprehensive guide provided with the kit helps users avoid common mistakes, making it a must-have for anyone looking to enhance their nail care routine from the comfort of their home.

Preparation for Applying Acrylic Nails
Preparation is key for a successful acrylic nail application. Start by cleaning and sanitizing your nails to ensure a hygienic surface. Use the Kiss Acrylic Primer to prepare your natural nails, ensuring proper adhesion. Gently shape and buff your nails to create a smooth base for the acrylics. This step ensures a strong bond and a professional finish. Proper preparation prevents lifting and extends the wear of your acrylic nails. Follow the kit’s instructions for optimal results.
Steps to Prepare Your Natural Nails
Prepping your natural nails is essential for a successful acrylic application. Start by thoroughly cleaning your nails with nail cleanser to remove oils and residue. Next, gently buff the surface of your nails to create a rough texture, ensuring better adhesion for the acrylic. Use the nail file provided in the Kiss Acrylic Nail Kit to shape your nails to your desired style. Push back your cuticles and wipe away any dust or debris. Finally, apply the Kiss Acrylic Primer to the entire nail surface, focusing on the growth area where the acrylic will be applied. This step ensures a strong bond and prevents lifting. Proper preparation guarantees a long-lasting, professional finish.

Importance of Cleaning and Sanitizing
Cleaning and sanitizing your nails and tools are crucial steps before applying acrylic nails. This ensures a hygienic environment, preventing infections and promoting proper adhesion. Start by washing your hands and sanitizing your tools with a nail cleanser or alcohol. Wipe your natural nails with a lint-free wipe soaked in cleanser to remove oils, lotions, and dirt. This step is vital because any residue can interfere with the acrylic adhesive, leading to lifting or peeling. A clean surface allows the primer and acrylic to bond securely, ensuring a long-lasting and professional finish. Always follow the Kiss Acrylic Nail Kit instructions for sanitizing to achieve the best results and maintain healthy nails.
Application Process
The application process involves preparing nails, applying primer, and shaping acrylics for a polished finish. Follow kit instructions for precise steps to achieve salon-quality results easily at home.
Step-by-Step Guide to Applying the Acrylic Nails
Start by prepping your nails with the Kiss Acrylic Primer, focusing on the growth area. Next, place a small bead of acrylic mixture where the natural nail meets the overlay. Use a brush or sponge to spread it evenly from the cuticle to the tip. Allow the mixture to level, then blend it smoothly across the nail surface. Shape and file the nails to your desired form, ensuring a natural look. Repeat the process for all nails, finishing with a thin layer of acrylic for durability. Finally, buff the nails for a glossy, professional finish. Follow these steps carefully for long-lasting, salon-quality results at home.
How to Shape and File the Nails for a Salon Finish
To achieve a professional finish, start by shaping your nails using the coarse side of the file included in the Kiss Acrylic Nail Kit. Gently work from the cuticle to the tip in one direction to avoid lifting the acrylic. Switch to a finer grit file to smooth out ridges and refine the shape. For a glossy finish, use the buffer to lightly buff the nails, ensuring evenness and shine. Be careful not to over-file, as this can weaken the nails. Follow these steps to create a natural, polished look that complements your acrylic application. Remember to use a light touch to avoid damaging the nails or the acrylic overlay.

Finishing Touches
Complete your look by applying a top coat and sealant to protect the acrylics and add shine. For extra flair, incorporate nail art or designs to personalize your nails.
Applying Top Coat and Sealant
Applying a top coat and sealant is the final step to ensure your acrylic nails look polished and last longer. Start by selecting a top coat that matches your desired finish—glossy, matte, or glitter. Using the brush provided in the Kiss Acrylic Nail Kit, apply a thin, even layer of top coat across the entire nail surface, making sure to cover the tip for added protection. Allow it to dry completely, which may take a few minutes, depending on the product. For extra durability, some kits recommend curing the top coat under a UV or LED light. Once dry, finish with a nail sealant to lock in the color and prevent chipping. This step not only enhances the appearance but also helps maintain the integrity of your acrylic nails, ensuring they remain vibrant and intact for weeks to come.
Adding Nail Art or Designs
Adding nail art or designs is a great way to personalize your acrylic nails. Once the top coat is applied, you can use nail art brushes, dotting tools, or nail stamps to create unique patterns. For intricate designs, try using rhinestones, glitter, or stickers for a bold look. Alternatively, you can use nail guides or stencils to achieve crisp, clean lines. If you’re feeling creative, experiment with gradient effects or ombre techniques using multiple colors. Remember to seal your design with a thin layer of top coat to protect it and ensure longevity. Whether you’re a pro or a beginner, the Kiss Acrylic Nail Kit offers endless possibilities for expressing your style through customizable nail art. This step allows you to make your nails truly one-of-a-kind.
Maintenance and Aftercare
Regularly clean under and around your nails to prevent dirt buildup. Avoid harsh chemicals and wear gloves when using cleaners or handling harsh substances. Moisturize your cuticles to keep them healthy and hydrated. For long-lasting results, avoid using your nails as tools and refrain from biting or picking at them. If you notice lifting or chipping, address it promptly to prevent further damage. Schedule regular fills or touch-ups to maintain the appearance of your acrylic nails. Proper aftercare ensures your nails remain beautiful and durable for weeks to come.
How to Keep Your Acrylic Nails Looking Great
To maintain your acrylic nails, start by keeping them clean and dry. Avoid submerging your hands in water for extended periods, as this can weaken the adhesive. Use a soft brush to gently clean under your nails daily. Moisturize your cuticles with a nourishing oil to prevent dryness and promote healthy nail growth. Refrain from using harsh chemicals or detergents without wearing gloves. If you notice any lifting or chips, address them immediately to prevent further damage. Schedule regular touch-ups every two to three weeks to maintain the appearance of your nails. By following these simple care tips, you can enjoy your acrylic nails for a longer period while keeping them looking fresh and polished.
Common Mistakes to Avoid
When using the Kiss Acrylic Nail Kit, there are several common mistakes to avoid for a successful application. One of the most frequent errors is improper preparation of the natural nail, such as not cleaning or buffing it sufficiently, which can lead to poor adhesion. Applying too much acrylic at once can result in thick, uneven layers that are difficult to shape. Another mistake is not allowing each layer to cure completely before moving on, which can weaken the structure of the nail. Using the wrong brush size or technique during application can also lead to messy results. Additionally, neglecting to follow the instructions for mixing the acrylic powder and liquid properly can cause the mixture to be too runny or thick. Finally, not sealing the edges of the acrylic nail can lead to lifting and premature damage. By being mindful of these common pitfalls, you can achieve a more professional and long-lasting finish.
The Kiss Acrylic Nail Kit is an ideal solution for achieving salon-quality nails at home. With proper care and attention to instructions, it offers stunning, long-lasting results. Follow the guidelines to ensure a flawless finish and enjoy beautiful nails with confidence!
Final Tips for Achieving Professional Results
For a polished look, ensure your natural nails are clean and dry before application. Apply the acrylic mixture evenly, starting at the cuticle and blending towards the tip. Use gentle strokes with the brush to avoid air bubbles. After shaping, buff the nails for a smooth finish. Finish with a top coat to seal and protect. Regular touch-ups and proper aftercare will keep your nails looking salon-fresh. Practice makes perfect, so don’t be discouraged if it takes a few tries to master the technique. With patience and the right tools, you can achieve stunning, professional results at home using the Kiss Acrylic Nail Kit.